A good Grounded 2 starter base provides sufficient space for all the necessary items. As you make progress in the game, you will come across many locations that you may like, as well as many items that will require storing, for instance, clean water. Therefore, prioritizing the size of the base and its location is key to making a stronghold against the insect world of Grounded 2.
This article will explain just how you can make a strong starter base in Grounded 2 in the early game stages.
Grounded 2 starter base guide
Location
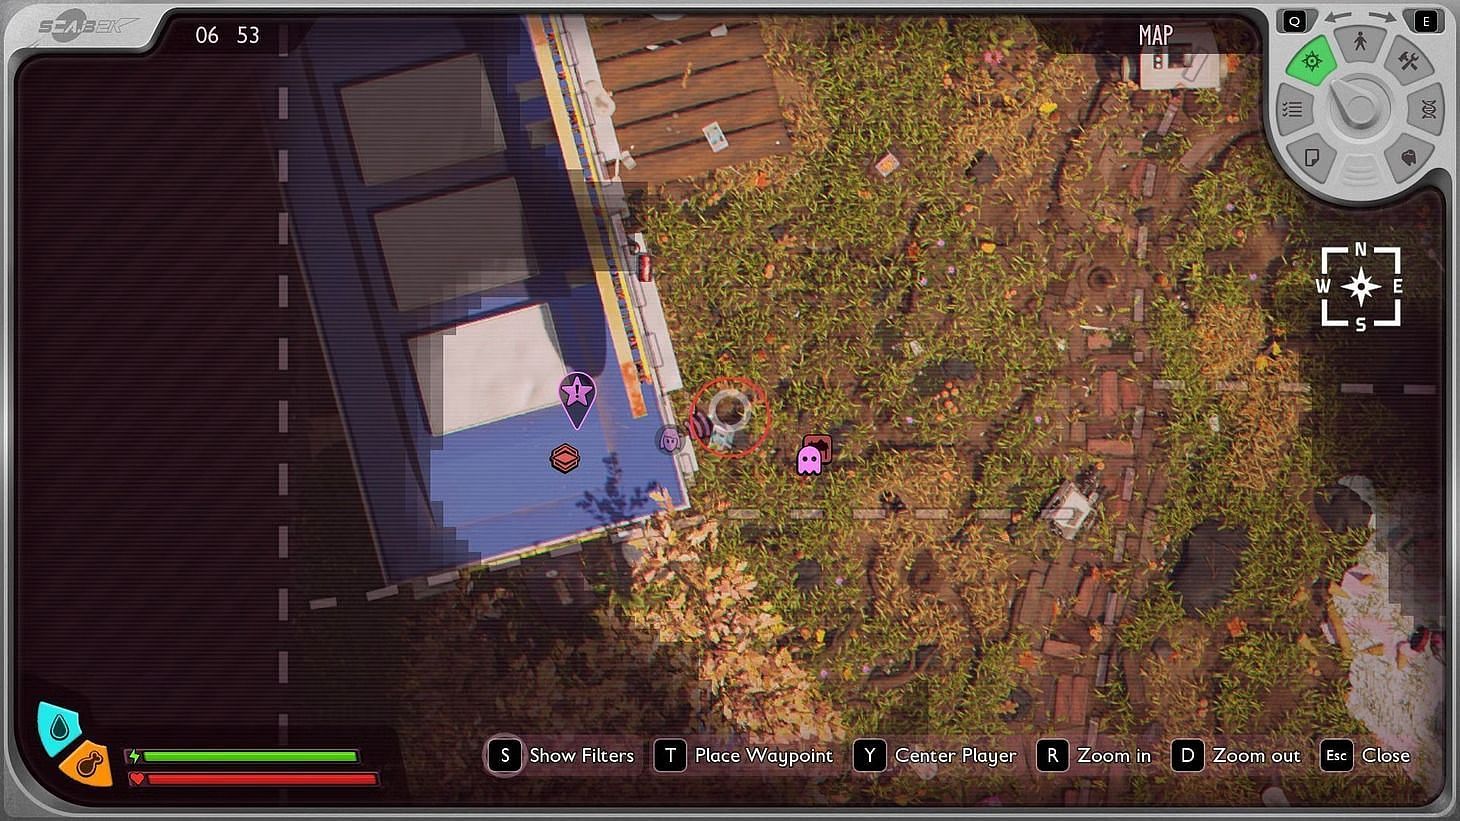
Finding the best location to build your base in Grounded 2 may seem like a daunting task. After all, the Brookhollow Park is a vast zone and has many vital areas to pick from.
Ideally, you should always be close to a Ranger Outpost as well as a respawning zone. The map is large, and you can virtually pick any good spot you may discover. Ensure you pick areas where the insects are fewer and pose less of a threat. Some good locations are:
- Near the Picnic Table
- The Oak Tree stump in the starting location
- Grass Games, in front of the statue
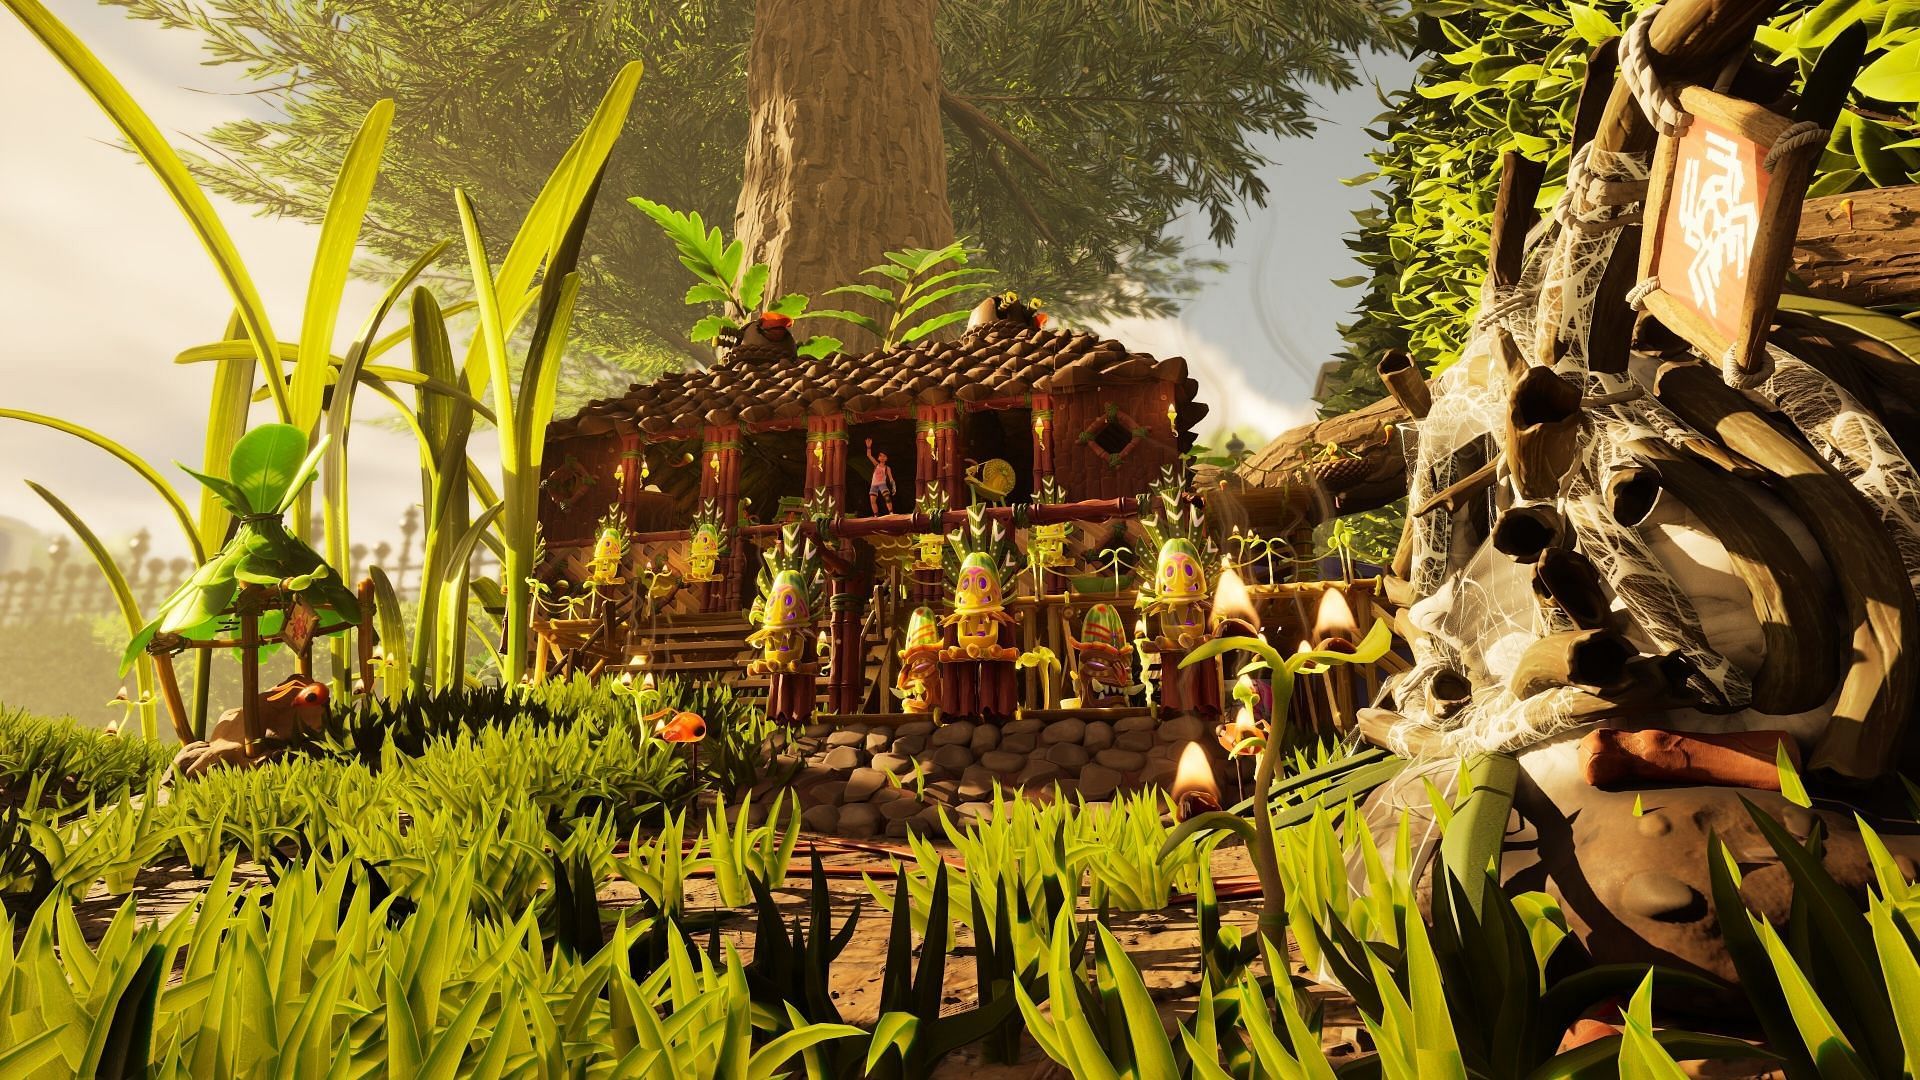
- Large rock in the Ceremony area
- Near Trashbags close to the Snackbar
These are some fantastic locations to build your starter base in Grounded 2. They are relatively safe, close to Ranger Outposts, and allow access to various vital resources.
Materials
You can purchase or unlock materials necessary to build a base by using the Resource Analyzer or by purchasing them from the Science Shop. First, you’ll need to learn construction recipes from the Ranger Station. Getting material for the Resource Analyzer is as simple as cutting grass and taking it back to it for scans in Grounded 2.
Once this is done and you’ll have the necessary resources, such as:
- Grass floor
- Grass Half floor
- Grass wall
- Grass half wall A and B
- Grass Curved Wall
- Grass door
- Sturdy Wall
- Door Frame
- Stem wall
These are just some of the ingredients you will need and will be on your list once you learn the recipe. You can also purchase a blueprint for Raw Science and get to it.
Structure
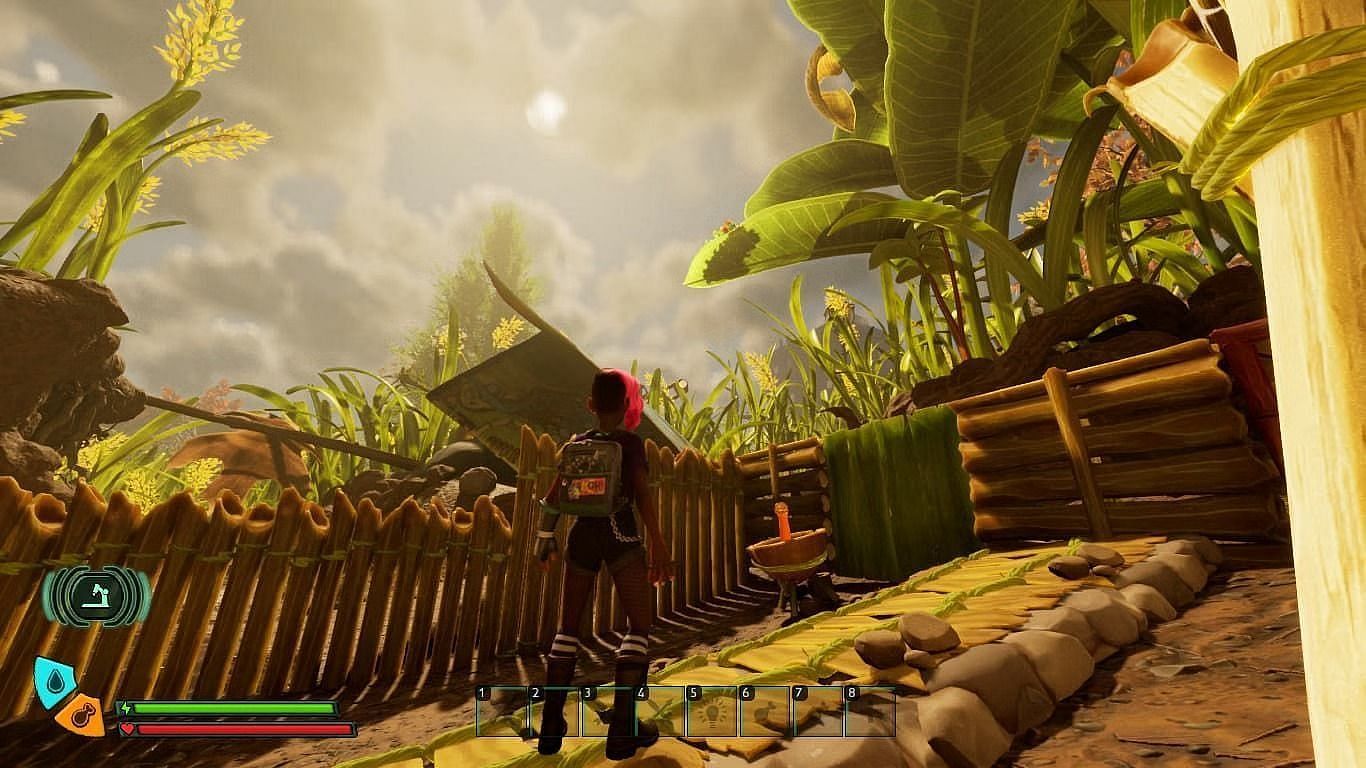
Finally, you need to plan out your starter base in Grounded 2. To do this, start out by laying down a floor plan and then building on it with walls, windows, door frames, and more.
- Start with either a 5×5, 6×6, or the unconventional 7×5 tile floor plan.
- Once your floor plan is all set, start by building walls on the borders of your tiles.
- Allow some natural sunlight with Windowed walls. Make Sturdy Walls too to keep your structure strong and protected from interference.
- Next, simply make a roof by matching the tile layout of the floor plan.
- Don’t forget to install at least one door frame in one of your walls.
- You can then work on the inside, create walls, and make separate rooms. Prioritize having one bedroom, a kitchen, a storage and crafting room.
This is all you need to take care of as you try to build your starter base in Grounded 2. You don’t need to make it too fancy early on. As long as it’s sturdy, spacious, and in a safe location, it will serve you well for a long time.
Also Read: Grounded 2 – Beginner tips and tricks

alt=”Prit Chauhan” height=”72″ width=”72″>
Edited by Abu Amjad Khan